Get it on Google Play


Wm뮤 :: '분류 전체보기' 카테고리의 글 목록 (40 Page)

블로그 이미지
가끔 그림그리거나 3D모델링하거나
취미로 로봇만드는
전자과 게임프로그래머 (퇴사함)
2022.3.22f1 주로 사용
모카쨩
@Ahzkwid

Recent Comment

Archive


2023. 1. 22. 00:30 게임/VRChat

자주 쓰는 U# 코드들이다


핸들이 손에 잡힌 상태인지

GetComponent<VRC_Pickup>().IsHeld
//주의: GetComponent<VRC_Pickup>().currentHand != VRC_Pickup.PickupHand.None는 오작동하므로 쓰면 안됨


왼손으로 잡혀있는지

GetComponent<VRC_Pickup>().currentHand == VRC_Pickup.PickupHand.Left


변수동기화

[UdonSynced]
int state = 0;


매뉴얼 동기화 예제

이 코드는 종각역 만들때 썼다

using UdonSharp;
using UnityEngine;
using UnityEngine.UI;
using VRC.SDKBase;
using VRC.Udon;

[UdonBehaviourSyncMode(BehaviourSyncMode.Manual)]
public class StageText : UdonSharpBehaviour
{
    [UdonSynced]
    [Multiline]
    public string syncText;

    public Text textUI;


    public void UpdateText(string text)
    {
        Networking.SetOwner(Networking.LocalPlayer, gameObject);
        syncText = text;
        RequestSerialization();
    }
    void Update()
    {
        textUI.text = syncText;
    }
}


텔레포트

using UdonSharp;
using UnityEngine;
using VRC.SDKBase;
using VRC.Udon;

[UdonBehaviourSyncMode(BehaviourSyncMode.None)]
public class TeleportUS : UdonSharpBehaviour
{
    public Transform teleportTarget;
    public override void Interact()
    {
        Networking.LocalPlayer.TeleportTo(teleportTarget.position, teleportTarget.rotation);
    }
}


스크립트 LOD

기본 LOD도 훌륭하지만 이걸 쓰는 이유는 라이팅이나 스크립트 On Off도 용이하기 때문이다

몰론 그렇다고 이거만 쓰진 말고 기본 LOD와 병행해서 쓰자

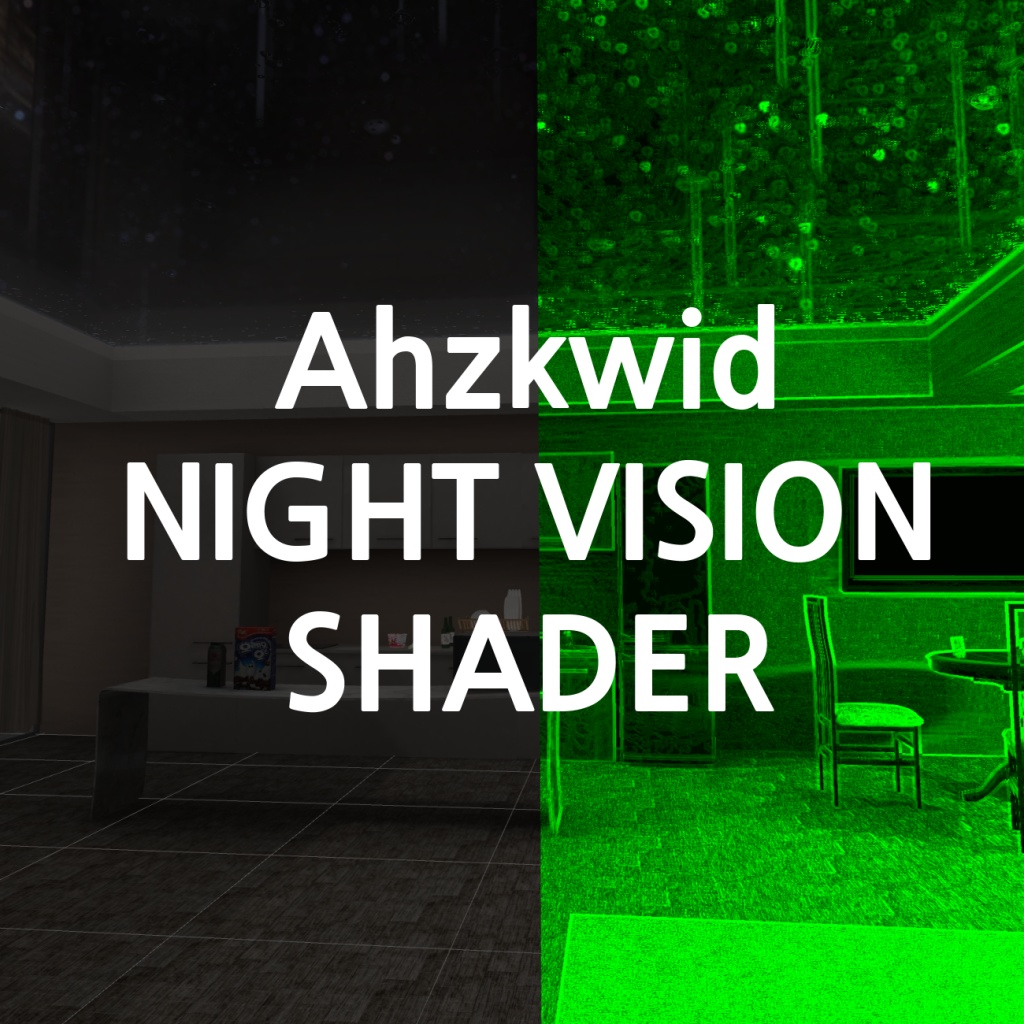
https://ahzkwid.booth.pm/items/5892835

https://gist.github.com/ahzkwid/6647d3aec625afe96c54bb38b2671c72

using UdonSharp;
using UnityEngine;
using VRC.SDKBase;
using VRC.Udon;

[UdonBehaviourSyncMode(BehaviourSyncMode.None)]
public class ScriptLOD : UdonSharpBehaviour
{

    public float radius = 20;
    public GameObject[] hqObjects;
    public GameObject[] lqObjects;
#if UNITY_EDITOR
    void OnDrawGizmos()
    {
        Gizmos.DrawWireSphere(transform.position, radius);
    }
#endif
    void Update()
    {
        var active = Vector3.Distance(Networking.LocalPlayer.GetPosition(), transform.position) < radius;
        foreach (var obj in hqObjects)
        {
            obj.SetActive(active);
        }
        foreach (var obj in lqObjects)
        {
            obj.SetActive(!active);
        }
    }
}

'게임 > VRChat' 카테고리의 다른 글

Booth 선물 방법  (0) 2023.04.14
VRChat 캐릭터 압착되는 문제  (0) 2023.01.01
VRChat OSC  (0) 2022.02.19
posted by 모카쨩
2023. 1. 21. 23:55 Unity


파티클의 startLifeTime

//읽을때
var startLifetime=particleEffect.main.startLifetime.constant;


//쓸때
var particleEffectMain = particleEffect.main;
var startLifetime = particleEffectMain.startLifetime;
startLifetime.constant = 설정할시간;
particleEffectMain.startLifetime = startLifetime;


파티클 텍스처 변경

var renderer = particle.GetComponent<Renderer>();
renderer.material.mainTexture = sprite.texture;


파티클 데이터 수정

//생성
{
    var particleSystem = GetComponent<ParticleSystem>();
    var particles = new ParticleSystem.Particle[100];
    for (int i = 0; i < particles.Length; i++)
    {
        particles[i] = new ParticleSystem.Particle();
        particles[i].position = new Vector3(0, i * 0.1f, 0);
        particles[i].startSize = particleSystem.main.startSize.Evaluate(0);
        particles[i].rotation3D = new Vector3(0, i * 10, 0);
    }
    particleSystem.SetParticles(particles);
}

//읽기
{
    var particleSystem = GetComponent<ParticleSystem>();
    var particles = new ParticleSystem.Particle[particleSystem.particleCount];
    particleSystem.GetParticles(particles);
    for (int i = 0; i < particles.Length; i++)
    {
        Debug.Log($"particles[{i}].position: {particles[i].position}");
        Debug.Log($"particles[{i}].rotation3D: {particles[i].rotation3D}");
        
        Debug.DrawLine(particles[i].position, particles[i].position+Quaternion.Euler(particles[i].rotation3D) * Vector3.forward*0.1f);
        Debug.DrawLine(particles[i].position, particles[i].position + Quaternion.Euler(particles[i].rotation3D) * Vector3.up * 0.1f);
        //Debug.Log($"Quaternion.Euler(particles[{i}].rotation3D): {Quaternion.Euler(particles[i].rotation3D)}");
    }
}

//수정
{
    var particleSystem = GetComponent<ParticleSystem>();
    var particles = new ParticleSystem.Particle[particleSystem.particleCount];
    particleSystem.GetParticles(particles);
    for (int i = 0; i < particles.Length; i++)
    {
        particles[i].position = new Vector3(0, i * 0.1f, 0);
    }
    particleSystem.SetParticles(particles);
}


라인렌더러 좌표를 트랜스폼들 좌표로 설정

using System.Collections;
using System.Collections.Generic;
using UnityEngine;


#if UNITY_EDITOR

using UnityEditor;
[CustomEditor(typeof(TransformsLine))]
public class TransformsLineEditor : Editor
{
    public override void OnInspectorGUI()
    {
        base.OnInspectorGUI();//기본 인스펙터를 받아올때
        serializedObject.Update();
        {
            if (GUILayout.Button("Preview"))
            {
                ((FishingLine)target).SetLineRenderer();
            }
        }
        serializedObject.ApplyModifiedProperties();


    }
}

#endif

public class TransformsLine : MonoBehaviour
{

    public Transform[] transforms;
    public LineRenderer lineRenderer;
    // Start is called before the first frame update
    void Start()
    {
        lineRenderer = lineRenderer ?? GetComponent<LineRenderer>();
    }

    // Update is called once per frame
    public void SetLineRenderer()
    {
        if ((lineRenderer != null) && (transforms.Length > 0))
        {
            lineRenderer.SetPositions(System.Array.ConvertAll(transforms, transform => transform.position));
        }
    }
    // Update is called once per frame
    void Update()
    {
        SetLineRenderer();
    }
}


트레일 Positions 구조

//1번라인
(0: (-0.3, 0.7, 0.0))(1: (-0.3, 0.7, 0.0))(2: (-0.4, 0.8, 0.1))
(3: (-0.6, 1.0, 0.4))(4: (-0.5, 1.1, 0.5))(5: (-0.5, 1.2, 0.5))
(6: (-0.5, 1.3, 0.5))(7: (-0.5, 1.3, 0.5))(8: (-0.5, 1.2, 0.6))
(9: (-0.5, 1.0, 0.6))(10: (-0.5, 0.9, 0.6))(11: (-0.5, 0.8, 0.6))

//2번라인
(12: (-0.5, 0.9, 0.7))(13: (-0.5, 0.9, 0.7))(14: (-0.4, 1.0, 0.8))
(15: (-0.4, 1.0, 0.8))(16: (-0.4, 1.0, 0.8))(17: (-0.4, 1.0, 0.8))
(18: (-0.4, 1.1, 0.8))(19: (-0.4, 1.1, 0.8))(20: (-0.4, 1.1, 0.8))
(21: (-0.4, 1.0, 0.9))(22: (-0.4, 1.0, 0.9))(23: (-0.4, 0.9, 0.9))

동일한 좌표를 두번 찍는것으로 시작점을 표현


'Unity' 카테고리의 다른 글

구글플레이 앱 이전  (0) 2023.03.06
유니티 창위치 설정  (0) 2022.06.18
유니티 csv 에셋  (0) 2022.04.30
posted by 모카쨩
2023. 1. 20. 07:49 Unity/shader


1:1


2:1 크롭


Shader "Ahzkwid/ScreenOverlay"
{
    Properties
    {
        _MainTex ("Texture", 2D) = "white" {}
    }
    SubShader
    {
        Tags { "RenderType"="Opaque" }
        LOD 100

        Pass
        {
            CGPROGRAM
            #pragma vertex vert
            #pragma fragment frag

            #include "UnityCG.cginc"

            struct appdata
            {
                float4 vertex : POSITION;
                float2 uv : TEXCOORD0;
            };

            struct v2f
            {
                float2 uv : TEXCOORD0;
                float4 vertex : SV_POSITION;
            };

            sampler2D _MainTex;
            float4 _MainTex_ST;
            float4 _MainTex_TexelSize;
            

            v2f vert (appdata v)
            {
                v2f o;
				o.uv = float4(TRANSFORM_TEX(v.uv, _MainTex),1,1);
				o.vertex.xy = o.uv;
				o.vertex.xy -= 0.5;
				o.vertex.xy *= 2;
				o.vertex.y = -o.vertex.y;
				o.vertex.zw = 1;

                return o;
            }

            fixed4 frag (v2f i) : SV_Target
            {
                fixed2 uv=i.uv;
                
				float screenWid = _ScreenParams.x / _ScreenParams.y;
				float texelWid = _MainTex_TexelSize.z / _MainTex_TexelSize.w;
                if(screenWid>texelWid)
                {
                    uv.x*=screenWid;
			        uv.x -= screenWid / 2;
			        uv.x += texelWid / 2;
                    uv.x/=texelWid;
                }
                else
                {

				    float screenHei = 1/screenWid;
				    float texelHei = 1/texelWid;

                    uv.y*=screenHei;
			        uv.y -= screenHei / 2;
			        uv.y += texelHei / 2;
                    uv.y/=texelHei;
                }

                fixed4 col = tex2D(_MainTex, uv);
                col.a*=all(uv==saturate(uv));
                return lerp(0,col,col.a);
            }
            ENDCG
        }
    }
}

'Unity > shader' 카테고리의 다른 글

PerlinNoise HLSL  (0) 2023.04.25
유니티 스카이박스 관련  (0) 2023.01.16
함수 그래프 모음  (0) 2022.01.15
posted by 모카쨩
2023. 1. 16. 21:41 Unity/shader
Shader "Skybox/Sample"
{
    Properties
    {
        [NoScaleOffset] _Tex ("Cubemap   (HDR)", Cube) = "grey" {}
    }
    SubShader
    {
        Tags { "Queue"="Background" "RenderType"="Background" "PreviewType"="Skybox" }
        LOD 100

        Pass
        {
            CGPROGRAM
            #pragma vertex vert
            #pragma fragment frag

            #include "UnityCG.cginc"

            struct appdata
            {
                float4 vertex : POSITION;
                UNITY_VERTEX_INPUT_INSTANCE_ID
            };

            struct v2f
            {
                float4 vertex : SV_POSITION;
                float3 texcoord : TEXCOORD0;
                UNITY_VERTEX_OUTPUT_STEREO
            };
            
            samplerCUBE _Tex;
            half4 _Tex_HDR;

            v2f vert (appdata v)
            {
                v2f o;
                UNITY_SETUP_INSTANCE_ID(v);
                UNITY_INITIALIZE_VERTEX_OUTPUT_STEREO(o);
                o.vertex = UnityObjectToClipPos(v.vertex);
                o.texcoord = v.vertex.xyz;
                return o;
            }

            fixed4 frag (v2f i) : SV_Target
            {
                half4 tex = texCUBE (_Tex, i.texcoord);
                fixed3 col = DecodeHDR (tex, _Tex_HDR);
                return half4(col, 1);
            }
            ENDCG
        }
    }
}

샘플코드


'Unity > shader' 카테고리의 다른 글

스크린 오버레이 샘플  (0) 2023.01.20
함수 그래프 모음  (0) 2022.01.15
Decal Shader  (0) 2022.01.13
posted by 모카쨩
2023. 1. 12. 17:21 3D/서브스탠스 페인터


텍스처링할때 그냥 생각없이 그으면 상단처럼 나온다


이렇게 설정하고 그으면 자연스럽게 나온다

Amount는 높을수록 좋지만 사양이 딸리면 낮추자

8정도로 낮춰도 쓸만한듯


posted by 모카쨩
2023. 1. 1. 13:07 게임/VRChat


2018로 만든 캐릭터를 2019로 불러올때 발생하는 문제이다


warning(s) found while importing rig in this animation file. open "import messages" foldout below for more details

라고 뜬다

열어보면 개박살 나있다


포즈 리셋을 해준다


복구완료


빨간색을 다 없애고 싶다면  Enforce T-Pose를 눌러주면 된다


근데 Enforce T-Pose는 메쉬포즈와 프리팹 포즈가 달라지는 치명적인 문제가 있어서 사용하지 않는것을 추천 

'게임 > VRChat' 카테고리의 다른 글

자주 쓰는 USharp 코드  (0) 2023.01.22
VRChat OSC  (0) 2022.02.19
VRChat SDK 오류 모음  (0) 2021.07.24
posted by 모카쨩
2022. 12. 31. 00:59 사용설명서


품번: 1029305  품명: 사각 시계&온습도계

'사용설명서' 카테고리의 다른 글

RVC 사용법  (0) 2023.04.27
지메일 자동분류 사용  (0) 2022.04.30
삼성플로우 사용법  (0) 2022.04.01
posted by 모카쨩
2022. 12. 19. 15:45 이 세계의 법칙

이 세상에 태어난 생명체는 자신이 특별하다는 생각과 생존본능을 주입받는다


그것이 생존에 유리하기 때문이다


하지만 지능이 너무 높아진 개체는 어느 순간부터인가 현실이 이상함을 깨닫는다


무슨 수를 써서든 죽지않도록 프로그램되어있지만 모든 방법을 시뮬레이션해도 최종적으로 죽음에 도달하는 결말


결국 이 생명체는 고장나버린다


이 생명체는 죽지않을 방법을 찾기 위해 모든 방면을 찾는다


하지만 결국 방법을 찾을수 없었기에 이 고장나버린 생명체는 2가지 방법중 하나를 택한다


무조건적으로 죽지않는다는 거짓정보에 매달리거나


자기 자신을 재프로그래밍 하여 기본 프로그램을 제거하는것


고장나지 않은 개체는 엄청난 절망의 지옥속에서 살아가게 된다


과연 이 생명체들이 가짜 구원이 아닌 진정으로 구원받는날이 올것인가


'이 세계의 법칙' 카테고리의 다른 글

중첩현상이 발생하는이유  (0) 2023.11.25
우주의 끝에 대하여  (0) 2022.12.17
외계인들에 대한 정보  (0) 2022.11.09
posted by 모카쨩

저사양 유저용 블로그 진입